

Production Fundamentals: Taking Your Studio With You
Paul McKercher recently went ‘bush’ to record an album for a high-profile actor. Unlike most ‘location’ recordings, the budget for the session was substantial, but regardless, many of the same limitations applied. Here’s how he faired.
30 September 2005
Earlier this year I was asked to engineer an album session ‘on location’ in the rainforested hills of Berri, a few hours south of Sydney. The prospect of a fortnight spent away from the ‘work-travel-sleep… now repeat’ pace of city sessions, surrounded by lots of my favourite gear and a bunch of talented people was too good to pass on. Before I packed my toothbrush, though, I’d need to decide on the setup, then source and book it. Central to my approach was that there needed to be enough gear to be able to record the whole band live, but also with enough flexibility to do a run of overdubs without too much fuss. The theme would be ’70s mainstays: Neves, Ureis, classic Neumanns and AKGs and the one thing I never work without – analogue tape. For editing and final masters, a 24 I/O ProTools HD rig with a Universal Sync Device (USD) to handle tape/Tools lock-up. All said, the rig wouldn’t fall too far short of what you’d find in a good studio, and would be a lot better than the budget stuff you’d typically find in an average one.
With 16 Neve 1073s and half a dozen API mic pre’s, the console I was going to need would be used purely for monitoring off tape/Tools, and would need enough functionality to provide multiple headphone sends and enough sonic integrity to give an accurate picture of what was going to tape. I choose an Allen & Heath 32:8:2 which, when A-B’ed against the Mackie 32:8:2 which was in-house, proved a poor choice, with the Mackie surpassing it in both headroom and bandwidth. So long as the EQ’s were left flat (they’re very broad and a bit distorted), the Mackie performed excellently, with its well-designed master section being as good as any found on larger hi-spec recording consoles. Headphone sends were fed from the Mackie’s auxiliaries but distributed via 4 x 1000W power amps, which may seem like quite a bit of grunt, but the importance of a quality headphone system can’t be overstated. Get the muso’s comfy first, attend to the rest of the setup afterwards and you’ll get a better performance; the idea being that the performer, not the equipment, is the most important part of the process.
So why not just go to a good studio? After all, the cost of a commercial facility is about half that of hiring all the components individually, transporting them and then spending two days setting up and testing it all. Why bother? Well it’s fair to say there’s no place like home, besides that, the idea of an ‘artist’s rural retreat’ brings with it inviting notions of creative freedom, inspiration from nature and the clear, uncluttered vision that comes with disengaging from daily norms. There are good precedents too: Tom Waits’ Bone Machine and Neil Young’s After the Goldrush are two records that stand out as great examples of finding a good sounding room in an out-of-the-way place, setting up and recording a fine band playing a bunch of good songs. That said, many of the same requirements of a standard session still apply, namely, enough good songs, plenty of rehearsal/pre-production and a strong idea of the shape and tone of the record. Skimp on these and you may find yourself recording a very expensive bunch of demos.
THE SETUP
The starting point for any project like this, where the gear is coming from different sources and the rig can’t be tested until it’s installed, is to write up a complete and definitive input list. Draw a signal-flow diagram and then work out your cable requirements, taking note of connection standards and plug types. Of course it’ll all look straightforward on paper, but there are always devils in the detail. Unlike a camping trip, take some things you think you may not need. Take 20% more cabling and mic stands than you’ve projected for and throw in some spare mics, XLR sex changers, phase changers, earth lifters and Y-cords. You’ll inevitably need spares to cover unexpected breakdowns or to quickly record last second, left-field ideas. Sometimes spending a little to save a lot is the better option than using a completely stripped-to-the-bone setup, which may prove inflexible and fiddly once you’re up and running. Pack a soldering iron (and solder) in your toolkit too. Faults and problems will always occur – expect them and be prepared, then deal with them in a cool-headed, efficient and engineering-like way. I’m always puzzled by engineers who get frustrated when faults occur. Surely fixing things is a primary part of the job description? Although, I s’pose if a studio won’t spend the money to get things fixed, the engineer has every right to get arc’ed up.


the idea of an ‘artist’s rural retreat’ brings with it inviting notions of creative freedom, inspiration from nature and the clear, uncluttered vision that comes with disengaging from daily norms
240V POWER
The condition of the 240V supply in rural areas can be hit-and-miss, so in preparation for the recording we had an electrician come to the property and drive an earth spike deep into the ground. We also hired an uninterrupted power supply (UPS) which would kick-in on batteries should the power drop out, which it did, giving me enough time to save and shutdown while the lightning storms swept through. Installing a separate 240V feed for the equipment would have been ideal but way too expensive, so while recording, off went the fridge so it wouldn’t send clicks through the audio (or, sadly, chill through the beer).
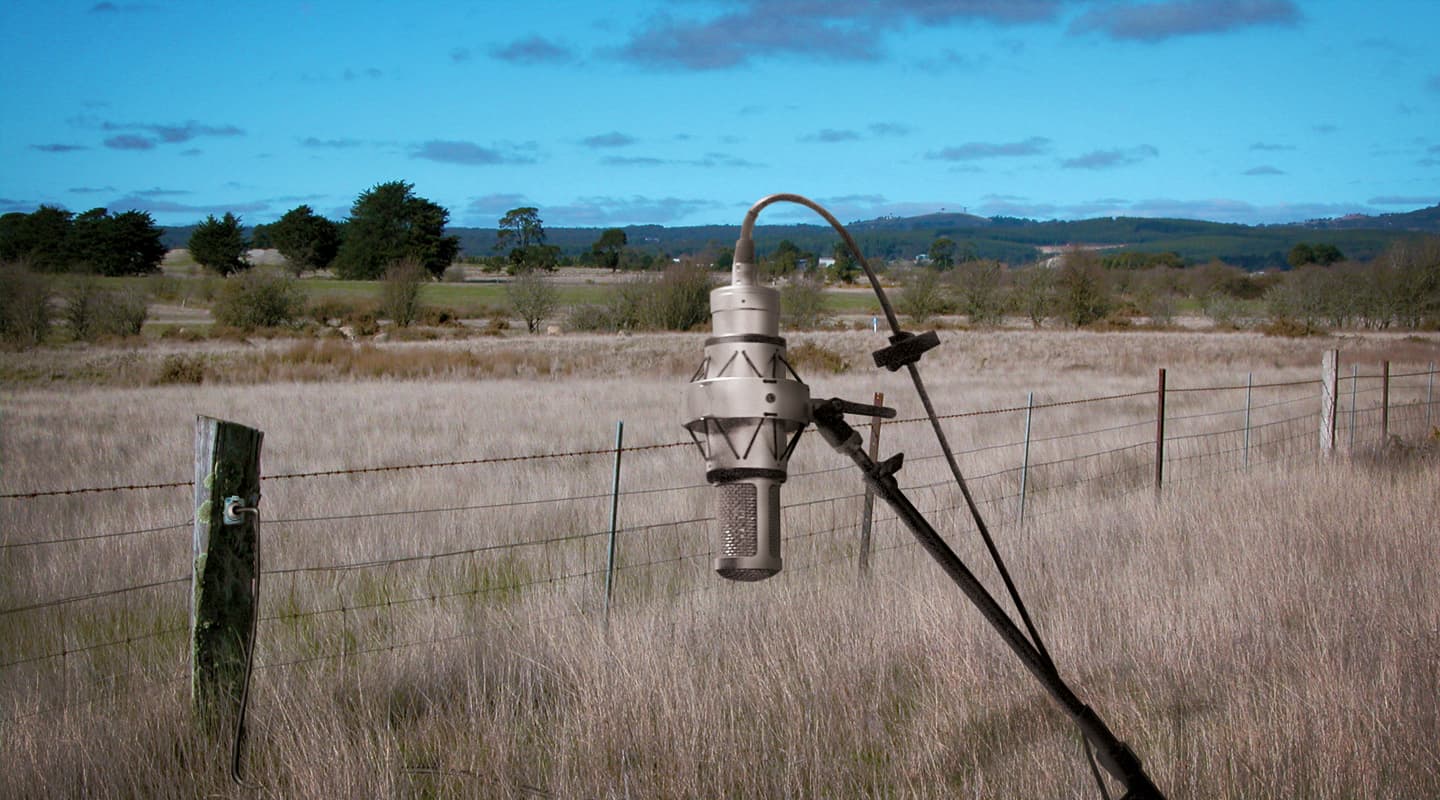
NOISE FLOOR
Built into the design of any good studio is 60dB+ of acoustic isolation. This is usually achieved by floating the floors, separating the walls (i.e., making sure no single wall faces into two different rooms) and the extensive use of sound absorptive materials. Obviously a house in the countryside is going to lack all of these sound isolation measures and achieving this kind of noise floor on a remote record is a big ask, but you can get close by choosing a site that’s away from traffic and industrial noise. The depth of the noise floor on location can be a hard thing to judge, especially if listened to in a noisy environment; the constant whir of fans and other mechanicals tend to disappear when you’re listening to them all day long. The danger here is to be lulled into a false impression of quietness: be aware that every tiny bit of unwanted noise is adding up, masking precious detail and diminishing your recordings.
But if you’re recording a loud rock band, what’s the problem with a bit of wind, rain or fan noise? Well, it’s a problem that you may not even be aware of until it’s too late to fix. The brain allocates importance to the loudest sounds, but in doing so, doesn’t disregard the quiet stuff, even when it is apparently masked (that’s the ‘cocktail party’ effect). The decay of cymbals and other long-decay instruments, pianos, acoustic guitars and subtleties of the room mics are among the things that get masked by a high noise floor. Always unplug headphones that aren’t in use – they sound particularly bad when left to spill into an open mic and make sure all doors and windows to the outside world are closed. If, in an especially quiet part of a song, the air conditioning can be heard, turn it off, along with dimming the player’s headphones so the click track doesn’t spill. Have guitarists rotate around in the horizontal plane so you can find the position that minimises single-coil pickup hum – make sure they’re facing this way in the final decays of the song or any muted sections and turn equipment with fans off, if not in use. For one song where the performance was as literally as quiet as a whisper I ditched my much loved Coles 4038 ribbon mics on drum overheads and used higher output AKG 414s, which, while not sounding as good, had a 20dB better signal to noise ratio. The idea being, if you can’t hear the subtleties of a performance over the noise, what’s the point? People listen to records to escape from the everyday, not to be reminded of it, so anything you can do to eliminate the sound of traffic, the weather, mechanical and circuit noise will enhance the music and help achieve greater detail in your recordings.

ROLLING TAPE
Now I quite simply love the sound of tape. To my ear, its saturation characteristics are the perfect peak limiter for recording nearly any instrument and its tone is evocative of the classic eras of the ’60s and ’70s. The two-inch format is still found in most pro studios, despite many selling their machines prematurely, and it’s very easy to use, requiring none of the eye strain and shoulder stress that comes from staring at a monitor for long stretches. So for the Berri session I tracked down an Otari MTR90 – they’re solidly built, easy to line up and mechanically very reliable. As is always the case when I record, the tape machine is the primary recording medium. Using just one roll of tape for the entire project, I record firstly to tape then dub usable takes to ProTools at 24-bit/96k. (If you’re not yet convinced by high bit/sampling rates, do a blind A/B test.) Master edits are done in ProTools and the tape is re-used. This gives me the best of both worlds: the great sound of tape but also the editing power and storage capability of a digital format. Since ProTools is slaved to the timecode (printed at –7dBVU on Track 24 of the tape machine), pre-existing tracks can be heard from ’Tools while new tracks are recorded to tape, then dubbed to ’Tools once they’ve been okayed (staying in sync the whole time). Once in ’Tools, tracks are comp’ed then backed up there and then. Call me a troglodyte but I don’t trust computers and always have two copies of anything digital.
Having the tape machine in top-notch alignment is critical too and I urge anyone interested in tape to learn how to align a tape machine. It’s not a difficult process to perform but can take up to an hour at a go and must be done on a weekly basis. Interestingly, a tape machine running out of alignment is less to do with the electronics wandering and more to do with head wear and abrasion, but it’s crucial that line ups be done correctly and accurately (remember that errors always accumulate) or the machine just won’t spit out what you put into it. No such problems with a ProTools rig, of course, but it’s important for all the inputs of a DAW to have the same sensitivity, and the outputs to be at unity (level in = level out). If the inputs are off balance, then recording the same program to different tracks will give unequal levels: not good if you were doing a vocal comp, for instance. Ideally (with both tape and ’Tools being aligned), if I were to plug a 0VU tone into the tape machine, it would then read 15dB below clip in ’Tools and then again, 0VU at the console. Lovely.
LOOMS ON THE LAND
In the connection department some general cleverness was brought to the project by Cameron ‘Wiseold’ McCauley, who saved me from a patching nightmare by supplying a 24-input stage box. Connected to the tape machine inputs, this let me change inputs to tape from the mic pre’s with ease and without having to cork a thigh ferreting around at the back of the tape machine. Simple and tidy. Also the tape outs, ’Tools in/outs and console in’s were via Burndy multi-pin connectors so the position of the tape machine and ’Tools rig within the signal path could be changed easily and quickly. No patchbay nightmares or mounds of spaghetti but groups of eight in/outs on a single connector. This simple system let me bypass ’Tools completely should the need arise or if I got sick of the computer fan noise and the glare of the screen.
This was the first ‘built from the ground up’ record I’d done for a good 10 years and if asked to draw conclusions, I’d say that being in relaxed surrounds doesn’t mean you’ll work any less intensively – I was still doing the regulation 14-hour days, six days a week – but when you pause, you really can relax and let your ears open up. The muso’s loved it and I think that being in one location for a fortnight really does tighten your focus. However, it can be costly and a shorter session makes the two days setup time look unattractive. Whenever it rained we would stop because of the noise it generated (broad spectrum and incessant), so too when it got windy and the broken branches of a great eucalypt clattered on the tin roof above us. But a great time was had by all, living under the same roof, immersing ourselves in the recording process and being stimulated by the fusion of home comforts and a hi-tech recording environment. All told, a highly recommendable experience.


RESPONSES